Table of Contents
Phonics is the foundation of reading. It’s the process of learning the sounds of letters, not just their names. In the Montessori approach, phonics is introduced early and naturally, making it one of the most effective ways to teach reading to preschoolers. The Montessori Phonics curriculum helps children build a strong foundation for both language development and early literacy skills.
By engaging children in hands-on, sensory-rich experiences, Montessori phonics activities prepare them for reading and writing in a joyful and developmentally appropriate way.
Start with Sound Awareness
Before introducing letters, begin by helping your child become aware of the sounds around them.
- Sing nursery rhymes
- Tell stories
- Play simple sound games
- Point out the beginning, middle, and ending sounds of words during everyday conversations
This sound awareness is the very first step in a child’s phonics journey.
Free Sandpaper Letter & Number Printables
Montessori phonics activities for preschool
- Sandpaper Letters
- Sand Tray
- Movable Alphabet
- Language Mat
- Sound Card and Object/Picture Cards
These materials may seem simple, but they’re incredibly powerful. With consistent, daily practice, children internalize sounds through repetition and exploration. Be sure to give your child the time and space they need to master each stage.
Check out my last blog post: How to DIY Basic Montessori Materials
Teaching Phonics Step by Step
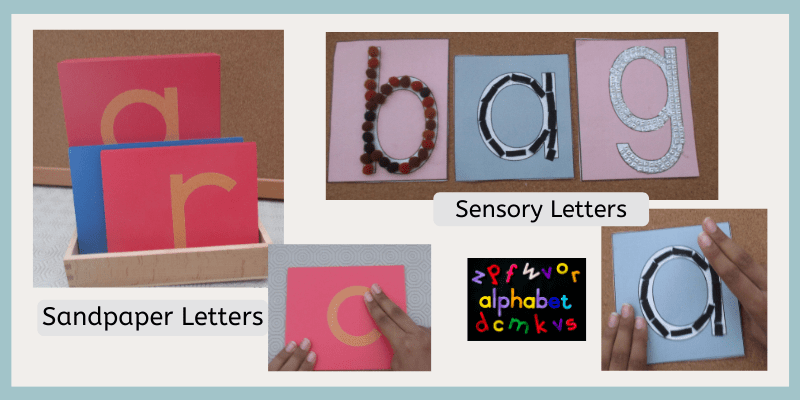
Sandpaper Letters
Sure! Here’s the revised sentence with simpler wording:
Sandpaper Letters are a concrete touch to an abstract idea in the Montessori Phonics Activities Preschool. These tactile letters help children build muscle memory, supporting both writing and reading development.
You don’t need to introduce sounds in alphabetical order. Choose three sounds that are visually and phonetically distinct. A good starting point is: “l,” “c,” and “a”—with at least one vowel included.
The Three-Period Lesson: 3 Easy Steps
- Naming
- Recognition
- Remembering
Naming
- Turn the letters face down.
- Pick one letter to introduce.
- Trace it with two fingers (index and middle) and say the sound.
- Let the child trace and repeat after you.
- Do this with all three sounds.
Recognition
- Turn all three letters face up.
- Ask: “Can you show me l?” or “Point to c.”
- Avoid asking, “What is this sound?” as the child is still learning.
Remembering
- Turn the letters face down again.
- Pick one at a time and ask, “What sound is this?”
- If the child can recall, great! If not, go back to Step 2 and try again.
Sand Tray
A Sand Tray offers a beautiful bridge between tactile learning and writing. After tracing the Sandpaper Letter, have your child write the same letter in the sand. You can also add picture cards to focus on beginning sounds. Depending on the child’s readiness, you may choose to separate writing and sound-identification activities.
Movable Alphabet + Language Mat

These letters are a little abstract compared to Sandpaper Letters. When the child has learned at least 4-5 sounds you can introduce this activity. The purpose of the Language Mat is to familiarise the child with the position of the letters on the lines.
Steps
- Bring the Movable Alphabet and Language Mat to the table or mat.
- Ask the child to find specific sounds.
- Help them place each sound in the correct position on the mat.
- Repeat regularly to reinforce learning.
Movable Alphabet + Language Mat + Objects / Picture Cards
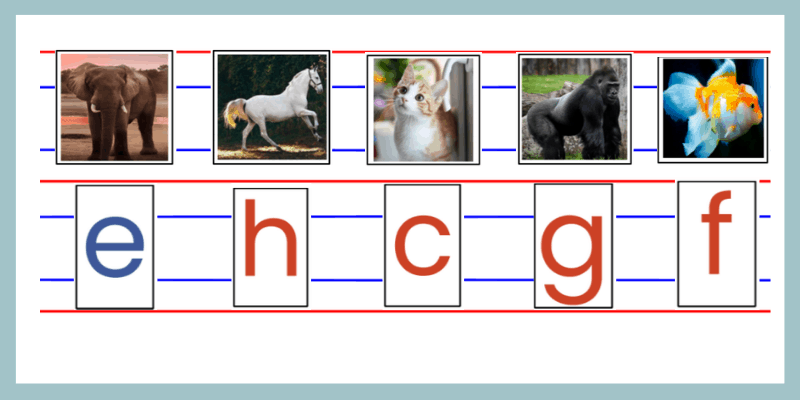
This activity sharpens the child’s ability to identify beginning sounds in words.
Instructions:
- Show the child a picture (e.g., a cat).
- Ask, “What’s the first sound you hear in ‘cat’?”
- Have the child find the letter c from the Movable Alphabet and place it next to the picture.
- Keep this activity on the shelf for independent practice.
Distance Pairing:
Place the letters on one side of the room and the picture cards on another. Have the child walk across the room to match them. Movement keeps preschoolers engaged and supports gross motor development alongside literacy.
Sound Cards and Objects/Picture Cards
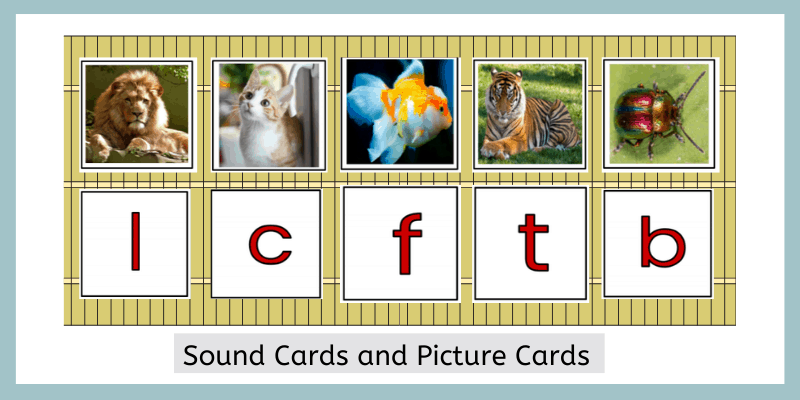
This is a more abstract version of the Movable Alphabet. You’ll use printed sound cards instead of wooden letters.
How to Use:
- Create small boxes, each with 6 sound cards and 6 matching pictures.
- Place them on the shelf for independent work.
- Distance Pairing works well here, too! Just replace the wooden letters with sound cards.
The Importance of Phonemic Awareness in Early Childhood
Language development begins at birth. From ages 0–6, children enter the Sensitive Period for Language, a time when they can effortlessly acquire spoken language and even multiple languages.
However, reading and writing don’t come naturally—they must be taught. That’s where phonemic awareness becomes essential. Introducing phonics during this sensitive period sets the stage for success in both reading and writing.
Missing this window doesn’t mean a child won’t learn, but it may take more time and effort later on.
Conclusion
To introduce phonics the Montessori way:
- Start with Sandpaper Letters and use the Three-Period Lesson.
- Add a Sand Tray for hands-on writing practice.
- Introduce the Movable Alphabet and Language Mat when the child is ready.
- Incorporate Objects, Picture Cards, Sound Cards, and even Distance Pairing for variety and fun.
Always observe and follow the child’s lead to know when to move forward or when to revisit earlier activities. With time, patience, and daily practice, your child will develop strong phonemic awareness and a love for reading.